Installing & Setting Up My New Linux Laptop: A Real Journey Through Dual-Boot, Partitions & Persistence
Today’s entry is a special one — not about metagenomics, CAZymes, MAGs, or FRed models —
but about something equally important for any computational biologist:
👉 setting up a reliable Linux machine.
If you’ve ever tried installing Ubuntu alongside Windows on a modern NVMe laptop
(especially Dell Inspiron or XPS), you know the process can be…
fascinating + frustrating + educational.
Here’s how my day went.
🔧 Step 1 — Preparing Windows for Dual-Boot
Before touching Linux, I fixed Windows first.
✔ Disabled Fast Startup
Fast Startup locks the NTFS filesystem and blocks Linux installers from modifying disks.
(For dual-boot, it must be off.)
✔ Created Unallocated Space
Using Windows Disk Management → Shrink Volume, I freed:
➡️ ~1 TB of unallocated space
This will later become:
-
/(root) /home- swap
Everything looked good… until things got interesting.
💽 Step 2 — Creating the Bootable USB
(and discovering the importance of a good USB drive)
Downloaded Ubuntu 24.04.3 LTS, then flashed the installer.
On Linux (preferred):
sudo dd if=ubuntu.iso of=/dev/sdb bs=4M status=progress oflag=sync
On Windows, I recommend: Rufus Select ISO Partition scheme = GPT Target = UEFI File system = FAT32
➤ Everything looked smooth — until the installer suddenly failed with:
❌ curtin command install ❌ rsync error 23 ❌ “System error detected. Installation failed.”
Root cause: 👉 My USB stick was corrupted.It was partioned into many small fragments while creating the USB disk. ➜A bad USB = hours wasted. ➜So I grabbed a new 64 GB drive, reflashed, rebooted… and finally reached the installer correctly.
🧭 Step 3 — Installer Could Not Recognize My Partitions
(The tricky part begins) Inside the Ubuntu installer (Manual Installation), I saw:
● p1 → EFI (FAT32) ● p2 → Microsoft Reserved ● p3 → Windows (NTFS) ● p5 → WINRETOOLS
Free space → 953 GB But the installer did NOT show the “+” button to create new partitions. Meaning: I could not proceed.
🔍 The Fix Boot into Try Ubuntu, open GParted, and create the partitions manually.
🧱 Step 4 — Manual Partitioning in GParted
(The correct final layout) Here’s exactly what I created: 1️⃣ Root / 105 GB ext4 Mount: /
2️⃣ Swap With 64 GB RAM, I created: 17 GB swap
3️⃣ Home /home ~902 GB ext4 Mount: /home
4️⃣ EFI (existing Windows EFI)
Never create a new EFI partition when dual-booting. I reused: /dev/nvme0n1p1 FAT32 Mount: /boot/efi Do NOT format
📊 Final Partition Table
| Partition | Type | Mount | Purpose |
|---|---|---|---|
| nvme0n1p1 | VFAT | /boot/efi | Windows + Ubuntu bootloader |
| nvme0n1p4 | ext4 | / | Ubuntu root |
| nvme0n1p6 | swap | — | Swap |
| nvme0n1p7 | ext4 | /home | User home |
| nvme0n1p3 | NTFS | — | Windows C: drive |
🚀 Step 5 — Running the Installer Again
I re-opened the Ubuntu installer. This time the “Review Your Choices” screen looked perfect:
✔ EFI correctly detected ✔ Root, swap, home all mapped ✔ No formatting of Windows partitions ✔ Bootloader target = nvme0n1
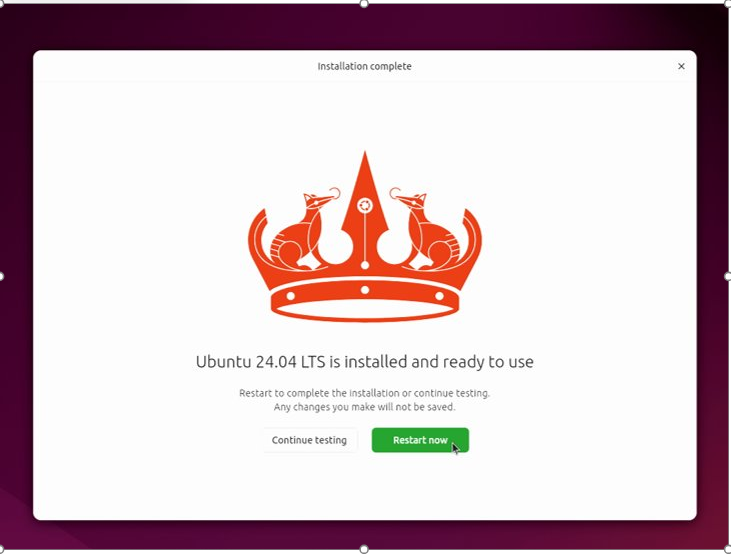
I clicked Install and…
🎉 It finally completed successfully!
🧵 Step 6 — First Boot & Initial Setup
After reboot: GRUB menu appeared (Ubuntu + Windows Boot Manager) Ubuntu booted cleanly /home and / mounted correctly Swap active
First software installed: ● VS Code ● RStudio ● Conda / Mamba ● Git ● Jupyter, pandas, biopython ● GCC, g++, make ● Browsers & utilities
My system is officially ready for serious computational biology work.
🎉 Final Thoughts
This installation was a journey involving:
● corrupted USB drives ● missing partition options ● EFI confusion ● manual fixes in GParted ● several reinstall attempts
But in the end, I now have:
💻 A stable dual-boot Linux system 📦 Clean partitions optimized for bioinformatics 🧬 A fast environment ready for MAGs, CAZymes, MTX, and more
If you’re a researcher switching to Linux or setting up dual-boot for the first time, don’t worry if things break — it’s all part of learning.